Bamboo Tips - Contraptions Planing Forms |
|
< Home < Contraptions < Planing Forms
Here are some pictures and/or drawings of planing forms from various makers. If the name of the submitter is underlined, you can go to the submitter’s web site.
Morton Lovstad’s Swelled Butt Planing Forms Submitted by Shawn Pineo & Danny Twang
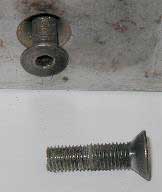
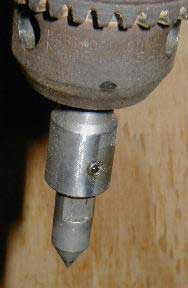
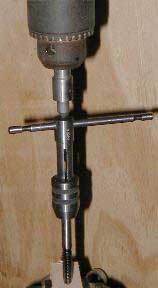
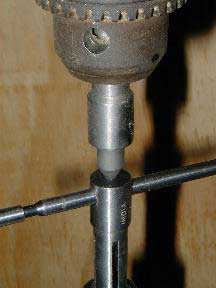
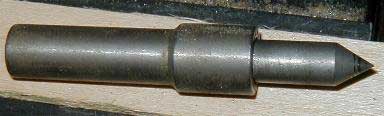
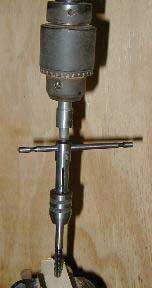
Tony Spezio’s Cup Head Allen Bolt Forms If you see it done you would think that is real easy. It is. The whole thing is alignment. If you drill a straight hole and don't move anything but the drill bit and tap the hole using the same setup the thread in the hole has to be straight. In order to do that, the tap has to be lined up like the drill bit was. A taper will find center. The spring loaded taper keeps the tap lined up in the same plane as the drill bit was. You end up with a screw that will go in straight. If you can maintain alignment, all the holes can be drilled first and then tapped. You are better off doing them one at a time. It will take longer but less chance of screwing up. The tapered pin stays in the chuck putting a load on the tap so it threads the hole straight. As the tap threads, the spring extends and keeps pressure and alignment on the tap. One end of the spring pin is in the drill press chuck. The point end of the spring pin is centered in the small hole on the top of the tap wrench. I did not mention, the spring is not exposed, it is a internal part of the tool. I just used this rig today to tap some holes in a new fixture I am making. More on that later. I also used Flat head screws on my forms. The taper on the screw heads will align themselves. The screws are starnderd flathead socket screws purchaced from tool supply houses. They can be found in some larger hardware stores. I used 5/16-24 thread. This makes for finer adjustment. Another thing is there are no screws sticking out on one side to get your knuckles. I did use starnderd socket screws for the Push screws. Flat head screws are not the best for the "push" screws.
Former of Ralph Moon’s Friend
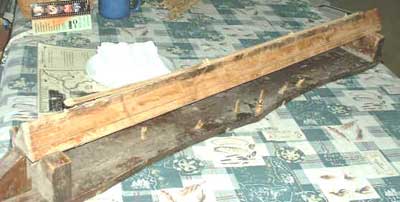
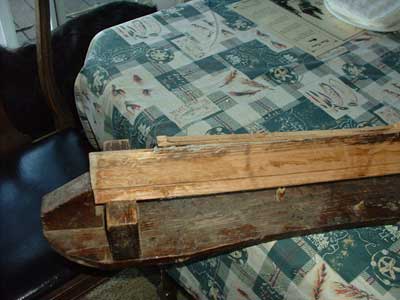
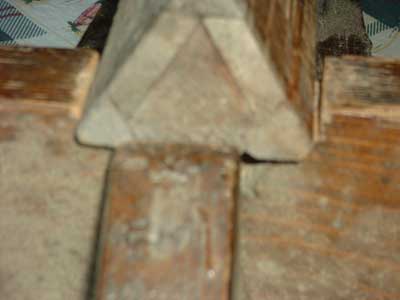
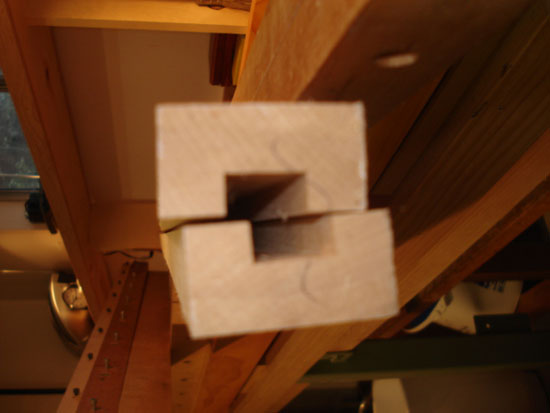
About a year ago, I met another rodbuilder from the back woods of central Idaho. He lived in a little town of less than a 1000 people and only got to town two or three times a year. While he was laid up by an accident one time, he ran across a book that mentioned building bamboo rods. He thought he would try it and fiddled around building his own conception of a planing form and scrounging even garden stakes for material. (They don't work he told me.) Where he saw the idea for the former I don't know, but he built it himself. Just thought that you would like to see how the other half lives. The apex of the triangle has been filed off to give the taper. The strip is glued to the apex, and the whole thing rotated 1/3 so that the plane rides horizontally.
Kevin Callaway’s Planing Forms
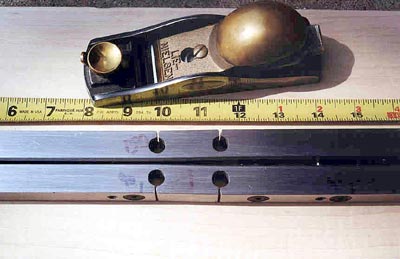
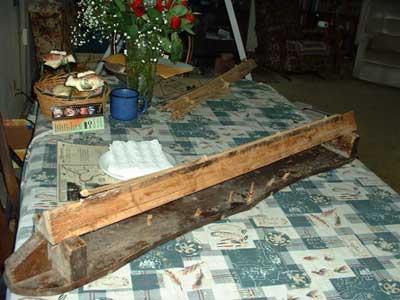
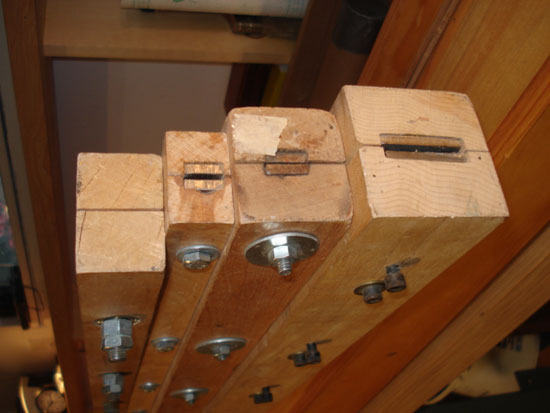
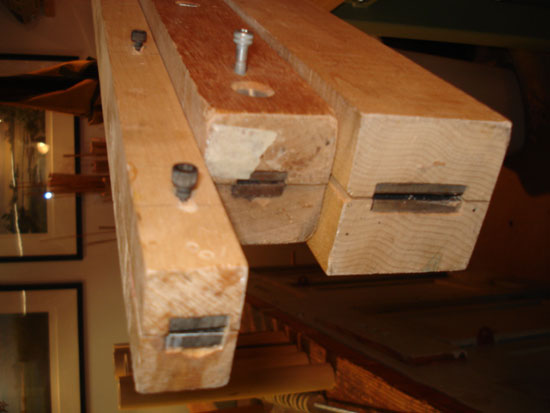
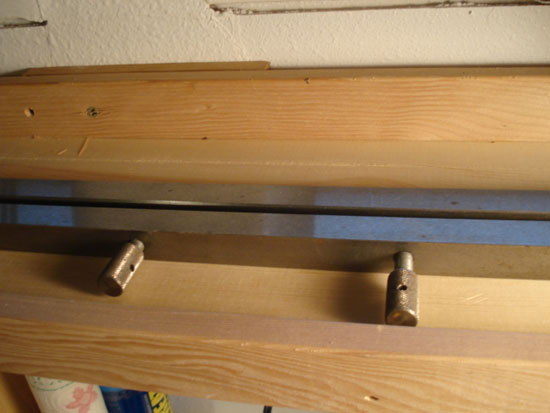
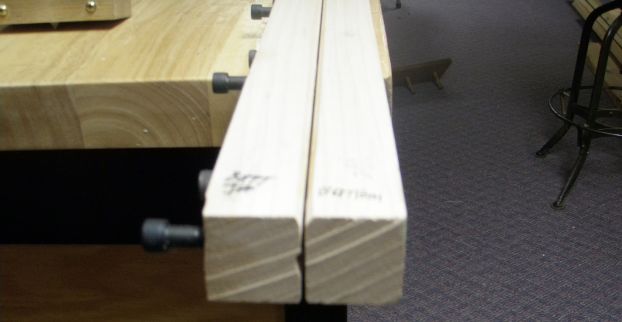
I have used my set of wooden planing forms for almost 15 years. Ed Hartzell, the gentleman who taught me rodbuilding, only used wooden forms. Ed built his forms with a 1/4" x 3/4" cold rolled steel strip at either side of the form joint and used the push/pull method of bolting. One bolt would go through an over sized hole in the near side strip and tap into the far side. The other bolt would tap into the near side strip and push on the far side. The system works very will and eliminates the need for inserts and still produces a long lasting form. Place alignment pins a few places along the form joint also to aid in drilling and keeping the form true after assembly. The other thing I would add, is to use hard maple with a very straight grain and assemble the form halves with the grain running perpendicular to the planing surface. The grain is less likely to lift in this configuration. The photo above shows four wooden forms, left to right (top to bottom) is: Ed's spring loaded form with one screw, Ed's small tip form, Ed's standard form and the tank on the bottom is mine. Mine weights about 30 lbs. and is nice and solid. The picture directly below is the back side of the forms. The next photo is a blurry close up of my form but hopefully you can see the grain running up and down. The second to the last picture is of my steel forms that never get used and the last photo is an end view of a form blank.
Gordon Koppin’s Planing Forms Here is the basic form that students make then use when they build a rod at my house. It means that they will have a form to use if they want to build additional rods. One friend built 30 rods on his form before he bought a steel form.
Here is a fuzzy view of the end that shows the grooves that are cut into the top and bottom just like a steel form except not milling machines are needed.
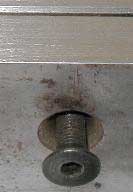
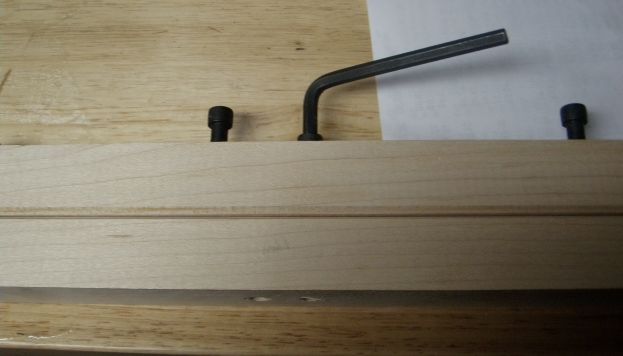
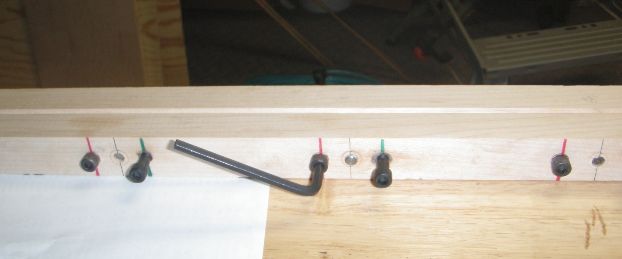
Here is a picture of the adjusting cap screws. On pushes to open the forms and the other pulls them together. Only the only pulling them together goes all the way through. I use simple ¼ cap screws with standard ¼ X 20 threads. They are larger and I think are better in the wood.
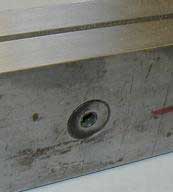
Here you see the adjusting screws from the side with the pin in the middle that the forms slide on. I use a reamer to make the pin hole large enough to allow them to slide.
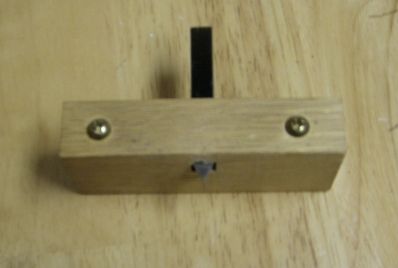
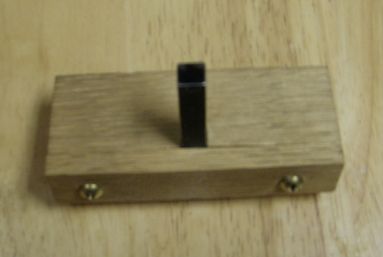
Here is the simple cutter for the grooves. It holds the 60 degree lathe tool upright with 0.200 of an inch width sticking through.
Here is the top view of the holder – super simple.
|